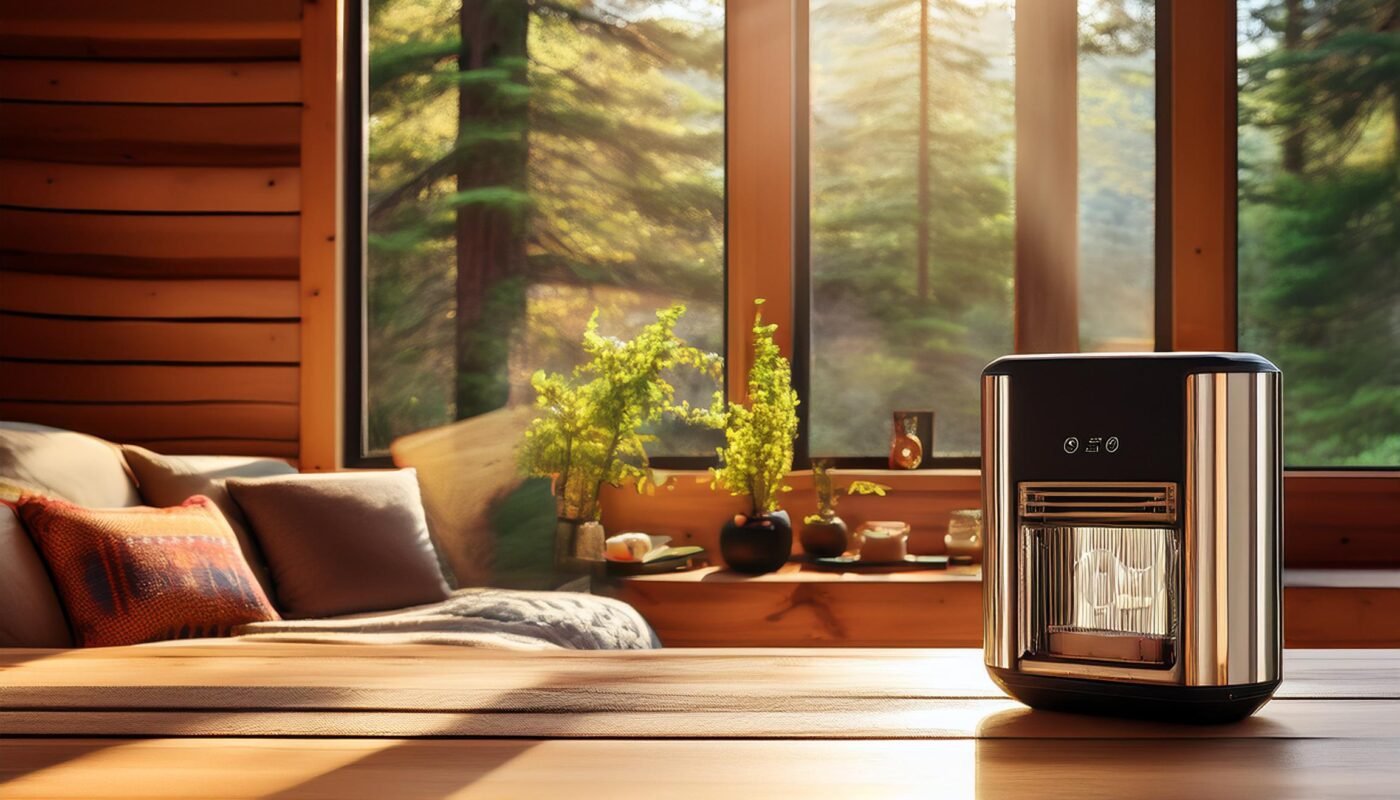
Picture this: you roll up to your idyllic cottage or rustic cabin, ready to escape the hustle and bustle of city life. The sweet scent of pine greets you, the sound of rustling leaves, and… a musty odor that was not on the agenda. Sound familiar? If you’ve ever experienced the unfortunate surprise of stale air in your beloved getaway, you might want to consider bringing an ozone generator into the mix. In this post, we’ll discuss ozone generators, how they work, and the best practices for using them. Let’s dive in!
Understanding Ozone Generators
So, what exactly is an ozone generator? Imagine it like a magic wand for your air. These devices produce ozone (O3), a form of oxygen that has more oxygen atoms than the good ol’ O2 we breathe every day. It’s known for its ability to neutralize odors, kill mold and mildew, and even purify water. You might be thinking, “Hold on, isn’t ozone harmful?” And you’d be right—at high levels, it can be a respiratory irritant. But when used correctly, an ozone generator can be a powerful ally in keeping your cottage or cabin fresh and inviting.
Best Practices for Using an Ozone Generator
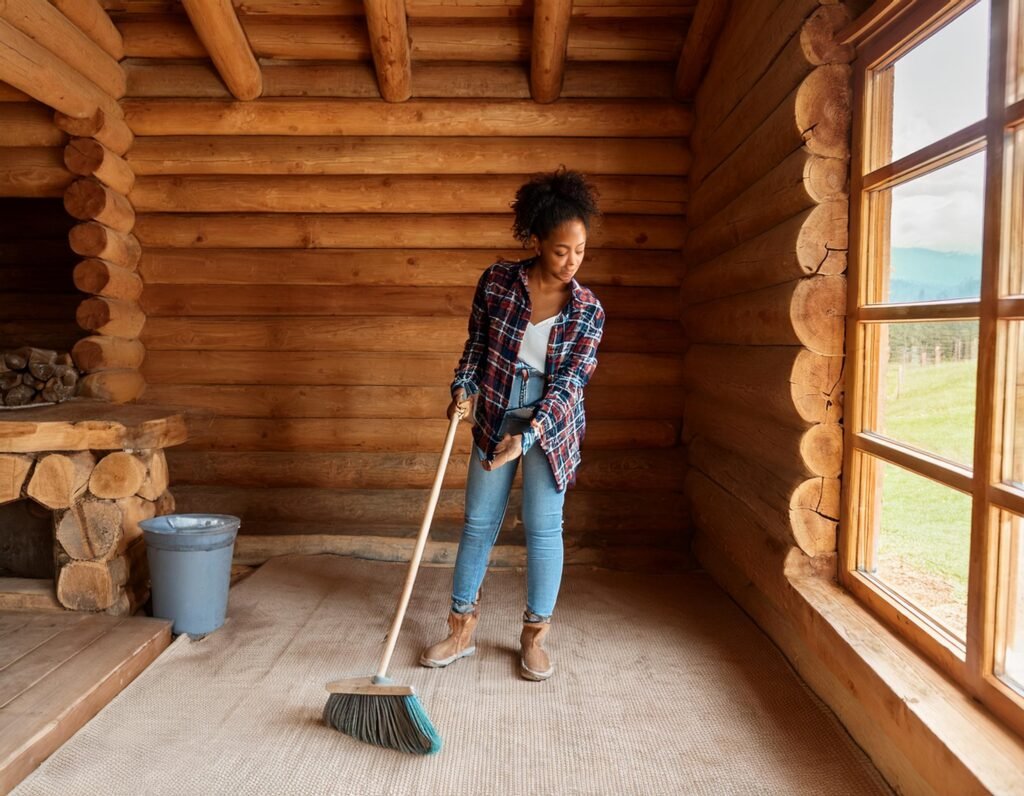
Okay, so you’re ready to give this ozone thing a shot, right? Let’s review the best practices to ensure it works effectively and safely. It’s like being the captain of your own clean air ship—let’s navigate these waters wisely!
1. Use It When the Cabin Is Unoccupied
First things first, never run your ozone generator when people (or pets) are around. Ozone can irritate the lungs, and for some folks, it’s not the most pleasant experience. It’s like cooking a perfect pasta sauce—leave it bubbling away for a while before you dig in. Make sure you air out the space thoroughly once it’s done, and only step back in when the ozone has dissipated.
2. Seal Up Your Space
Once you fire up that ozone generator, you’ll want to keep your cabin or cottage sealed off as much as possible. This isn’t a DIY project to keep the windows open—think of it like putting a lid on a pot to keep the water boiling. Close windows and doors to lock in the ozone and let it work its magic. The longer it can circulate in a confined space, the more effective it’ll be at knocking out those stubborn odors.
3. Time It Right
Timing is everything, my friend. Depending on the size of your space, you may need anywhere from 30 minutes to a few hours to achieve optimal results. Smaller rooms can often be treated in about 30-60 minutes, while larger cabins might require longer. It’s a bit like baking—too short and you’ll end up with a soggy bottom; too long and things get a bit too crispy. Monitor your ozone generator according to the manufacturer’s instructions, and plan accordingly.
4. Clean Up First
Now, I get it; you might want to jump right into ozone treatment, but hold your horses! Cleaning up your cabin beforehand will help maximize the effectiveness of the generator. Dust, vacuum, and tackle any visible mold or grime. It’s like decluttering before a big party—you want everything to look and smell its best. Once you’ve prepped the space, unleash that ozone generator like you’re releasing confetti at a wedding!
5. Choose the Right Model
Not all ozone generators are created equal. There are models designed for different purposes—some are perfect for home use, while others are intended for industrial settings. When shopping around, consider the size of your cottage or cabin and pick a model that matches. It’s like finding the right pair of shoes for a hike—too small, and it’s uncomfortable; too big, and you might trip over yourself. Investing in a quality ozone generator will save you headaches down the line.
6. Know When to Avoid Ozone Treatment
As much as ozone generators are fantastic, there are times when you probably want to hit the brakes. If your cabin has certain materials like rubber, oil-based finishes, or even some plastics, ozone can degrade these materials over time. It’s akin to tossing a delicate dessert in the oven without checking if it’s oven-proof. Do a little research or consult with a professional if you’re uncertain about how ozone might affect your furnishings and décor.
7. Follow Up with Air Purification
Once you’ve given the ozone generator its turn, consider following up with a high-quality air purifier. While ozone greatly removes odors and contaminants, an air purifier can help maintain that fresh feeling. It’s like putting a cherry on top of your sundae—it adds that extra something to seal the deal. Invest in a model with a HEPA filter to capture even the tiniest particles and allergens floating around your getaway.
8. Keep It Ventilated After Use
Once your ozone generator has worked its magic, your next step is to air out the space. Open the windows and doors to let a good breeze flow through. This will help dissipate any residual ozone in the air, ensuring you can safely return to your cozy abode. Think of it like cooling down a freshly baked pie—a little ventilation
Final Thoughts About Best Practices for Using an Ozone Generator in Your Cottage or Cabin
As we end our discussion on the best practices for using an ozone generator in your cottage or cabin, it is essential to remember that safety should always be the top priority. Ozone generators can be highly effective in removing odors, mold, and bacteria, but they must be used cautiously. Always follow the manufacturer’s instructions, and never operate the generator in an occupied space. It is also crucial to properly ventilate the area after use to ensure residual ozone dissipates before re-entering. By adhering to these guidelines, you can enjoy a fresh and clean environment in your cottage or cabin without risking your health or the well-being of your loved ones.
