 by
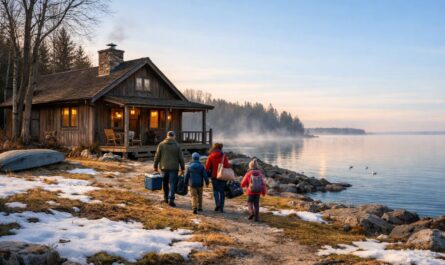
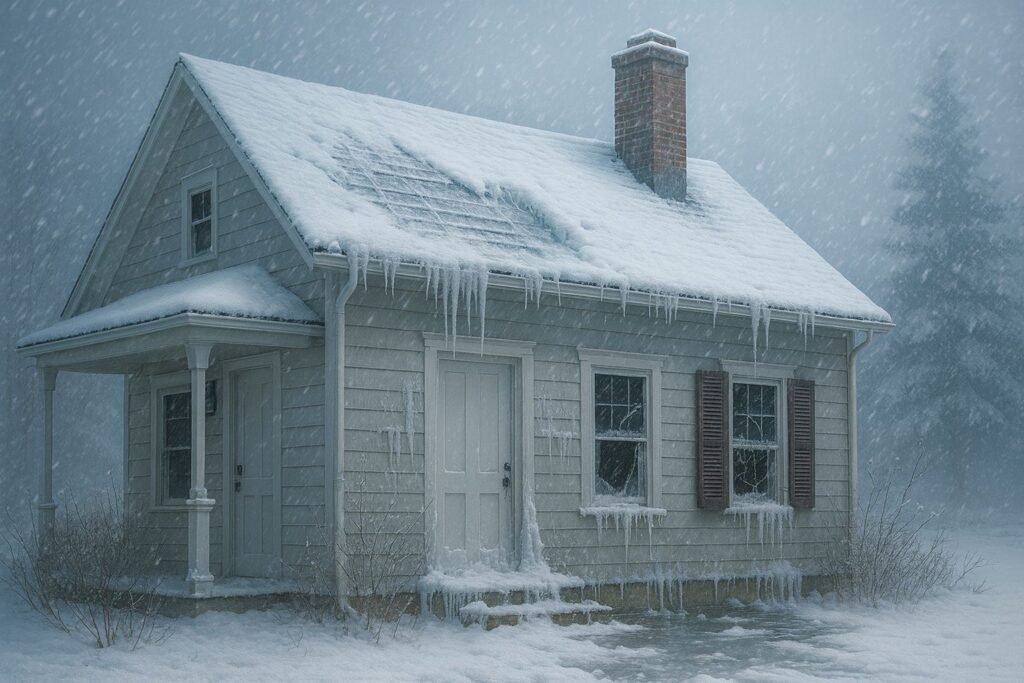
by We have owned our cottage near Lake Huron for over 30 years. While our humble abode is utilized year-round, many of our neighbors close up for the season. Closing up is more than just locking the door before you leave; it’s a comprehensive process to ensure that your home away from home survives the brutal cold and snow without damage due to freezing pipes, roof ice dams, and an invasion of mice and chipmunks. This simple, step-by-step plan to winterize your Great Lakes cottage can be completed in a day, and you’ll feel more secure about returning to a cabin that is ready to enjoy in the spring.
How to Winterize Your Great Lakes Cottage Step by Step
Owning a cottage on the Great Lakes means embracing seasons—warm summers on the water, crisp autumns, and eventually harsh winter weather. But before the snow flies and the lakes freeze over, it’s essential to properly winterize your cottage to protect your property and avoid expensive repairs come spring. Use this guide to walk through each step, whether you’re doing the work yourself or hiring help.
Why Winterizing Matters
When temperatures drop, an unprepared cottage can suffer:
- Pipes freeze and burst, flooding interiors
- Moisture builds up, causing mold or rot
- Small gaps or flaws in the structure let pests in
- Roof damage, ice dams, leaks, and unsecured exterior items can cause havoc
Because the Great Lakes region often brings heavy snow, wind, and fluctuating temperatures, the stakes are higher for cottages in that zone. Taking care now saves stress, cost, and headaches later.
Step-by-Step Guide to Winterizing Your Cottage
1. Shut Off the Water and Drain the Plumbing
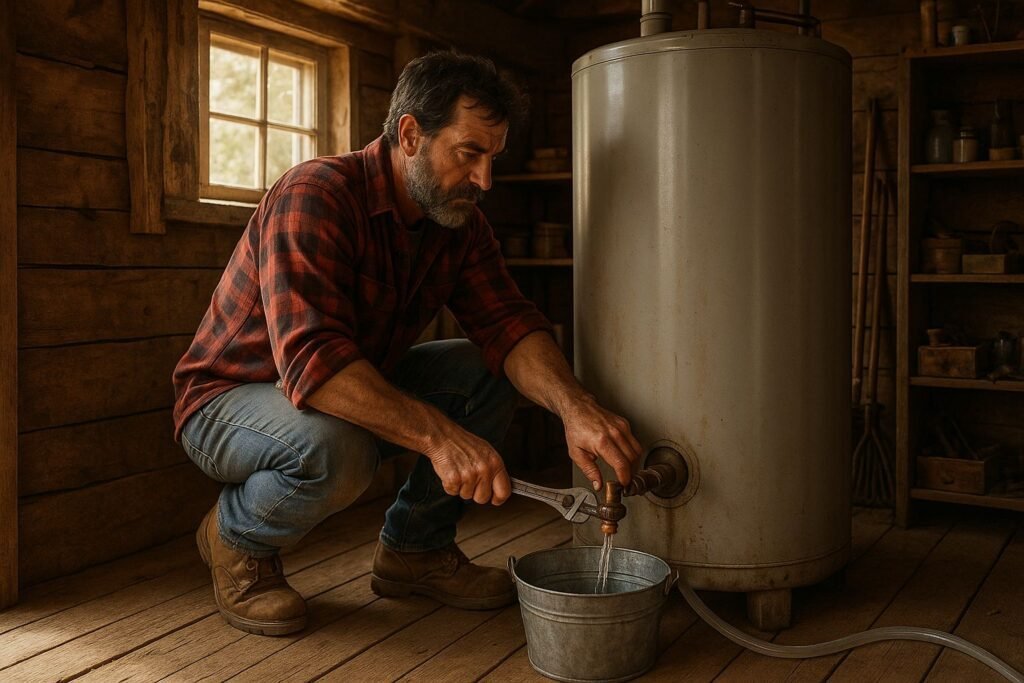
- Turn off the water supply at the main valve.
- Open all faucets and flush toilets to remove standing water.
- Drain the hot water heater (follow manufacturer instructions).
- Use clean, non-toxic RV‑grade antifreeze to protect drain traps and low points.
- For outdoor faucets (“hose bibs”), shut off their feed and leave them open or install insulating covers.
This avoids freezing and bursting in the plumbing network.
2. Service or Protect Heating & Ventilation
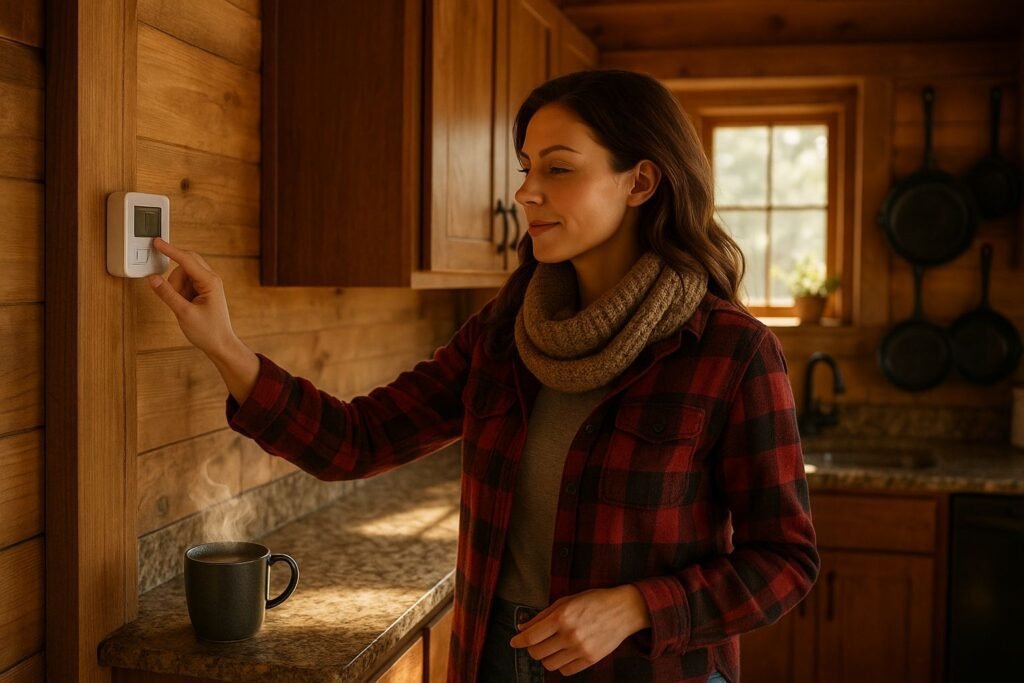
- If you plan to leave minimal heat, set thermostats to a safe low (e.g., ~50 °F) to keep things above freezing.
- Clean the furnace filters, inspect the fuel lines, and ensure the vents aren’t blocked.
- If heat is turned off, seal ducts and use insulation to protect critical zones.
- Open cabinet doors under sinks to allow heat to reach the pipes when the system is active.
3. Clean, Empty & Declutter Inside
- Remove all food — perishables and dry goods alike — to avoid pests.
- Unplug appliances, defrost the fridge and leave its door ajar to prevent odor and mildew.
- Clear drains, vents, and gutters from debris to improve airflow and reduce water backflow.
- Use moisture absorbers or desiccants in cupboards, basements, and attic spaces.
4. Seal Air Leaks & Insulate

- Inspect windows, doors, plumbing penetrations, electrical outlets, and foundation cracks.
- Use caulk, foam sealant, or weather stripping to block drafts.
- Add insulation in attics, crawlspaces, and walls if needed, especially if your cottage was lightly insulated.
- Wrap exposed pipes or use heat tape for extra protection.
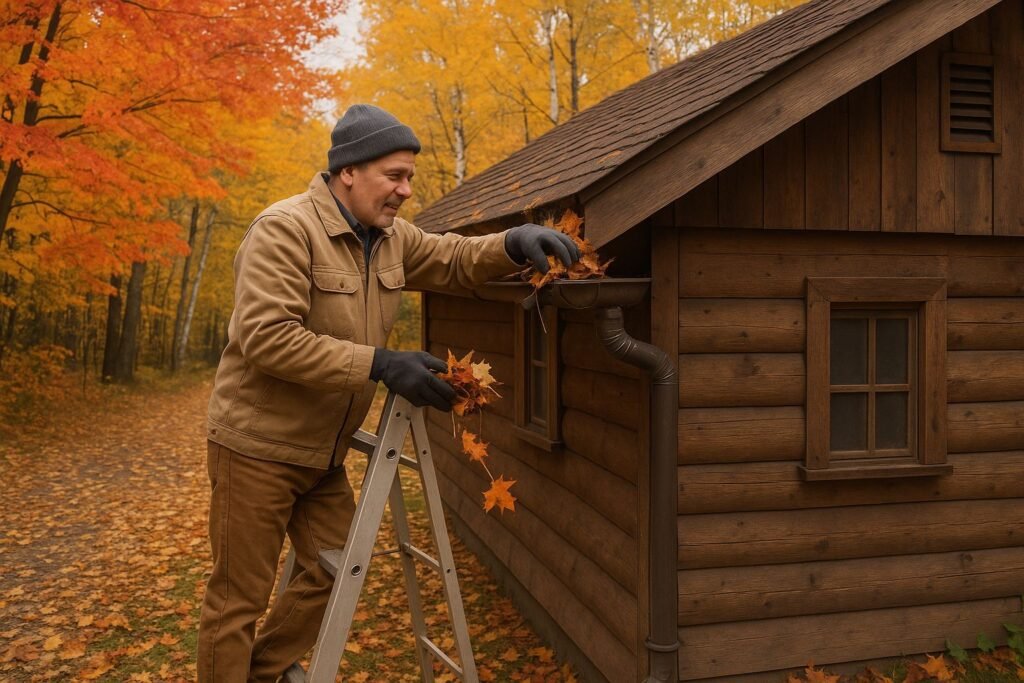
5. Exterior Preparations
- Clean gutters and downspouts; ensure they direct water away from the foundation.
- Inspect the roof for damaged or missing shingles; repair before snow comes.
- Secure or stow outdoor furniture, hoses, grills, docks, and boats.
- Board or reinforce windows if storms or drifting snow are likely.
- Trim overhanging branches to minimize damage during winter.
6. Pest Prevention
- Seal all potential entry points: gaps in siding, vents, and utility lines.
- Place traps or repellents if your area has rodent issues.
- Store soft furnishings in plastic or sealed bins to discourage nesting.
7. Electrical & Gas Safety
- Turn off non-essential circuits or breakers.
- Shut off gas supply valves if not needed in winter.
- Label circuits clearly so you (or someone else) can easily re-engage them in spring.
- Install water sensors near plumbing and sump areas to catch leaks early.
8. Security & Monitoring
- Install motion lights, timer switches, or remote monitoring cameras to keep an eye on your cottage.
- Ask a trusted neighbor or caretaker to inspect periodically.
- Lock all doors and windows securely.
When to Start Winterizing

Begin these tasks before the first hard frost or when daily lows consistently dip near freezing. In much of the Great Lakes region, that often means mid-to-late October, though fitting local weather conditions are key.
Too early? You risk missing late-season repairs. Too late? You may race against ice and snow. Aiming for a mid‑October start gives buffer room.
Tools & Supplies You’ll Want
Here’s a checklist to help:
- RV-safe antifreeze
- Caulk, spray foam, weather stripping
- Pipe insulation and heat tape
- Moisture absorbers/desiccants
- Basic plumbing tools (wrenches, drain keys)
- Cleaning supplies, shop vacuum
- Sealable bins for items
- Flashlights, batteries
- Security camera(s) & water sensors
- Ladder, gloves, safety gear
Advice from Seasoned Cottage Owners
- Many owners use dryer sheets or peppermint oil to deter rodents.
- Leave blinds or curtains partly closed to reduce temperature swings.
- Keep an up-to-date photo record of your interior and exterior before hibernation — it helps document the condition.
- Consider a mid-winter check (if accessible) to verify there are no major issues (e.g., power outages, roof damage).
Winterizing Your Cottage is not an option.
Winterizing your cottage on the Great Lakes is not optional — it’s essential. The steps above help protect your plumbing, structure, and contents from cold-weather damage. Start early, work methodically, and use the right materials.